Create Vagrant Box from Scratch
The world of virtualization offers countless possibilities, allowing developers and system administrators to replicate environments, test software configurations, and more, all without needing physical machines. One of the most powerful tools in this space is Vagrant. Although it’s primarily used for provisioning and managing virtual machines (VMs), a frequently asked question is: How do you create your own Vagrant box? In this blog post, we’ll be diving deep into this topic. Starting with the basics, we will craft a custom Vagrant box using VirtualBox and an Ubuntu 18.04, Bionic Beaver base image. Whether you’re new to Vagrant or looking to expand your toolkit, this step-by-step guide will walk you through the process from start to finish.
Requirements
Virtual Box and Vagrant needs to be installed and configured first!
I am gonna be using the Ubuntu base image “Ubuntu 18.04, Bionic Beaver”
Create a new folder were you can store your OS image and Vagrant file.
mkdir VagrantUbuntuBox
cd VagrantUbuntuBox
Download the iso
curl http://archive.ubuntu.com/ubuntu/dists/bionic/main/installer-amd64/current/images/netboot/mini.iso -o Ubuntu-mini.isoVirtual Box
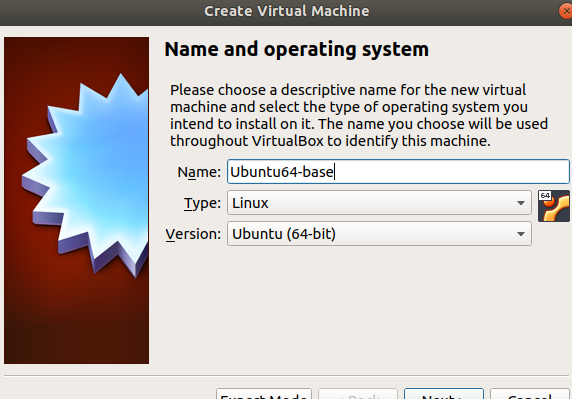
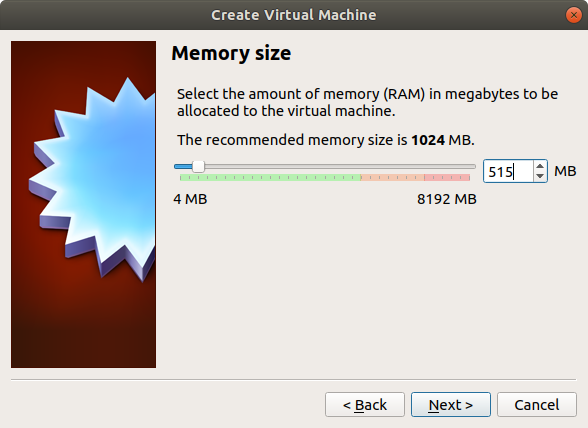
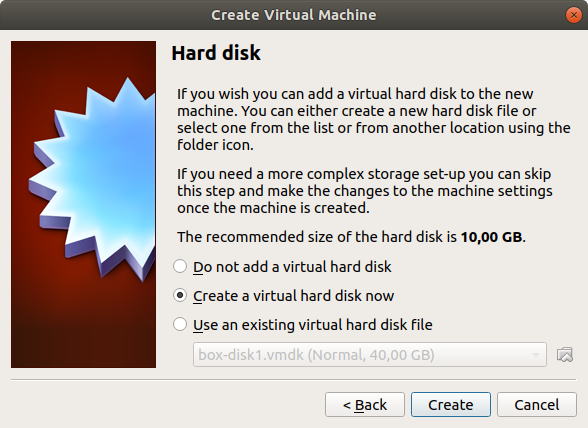
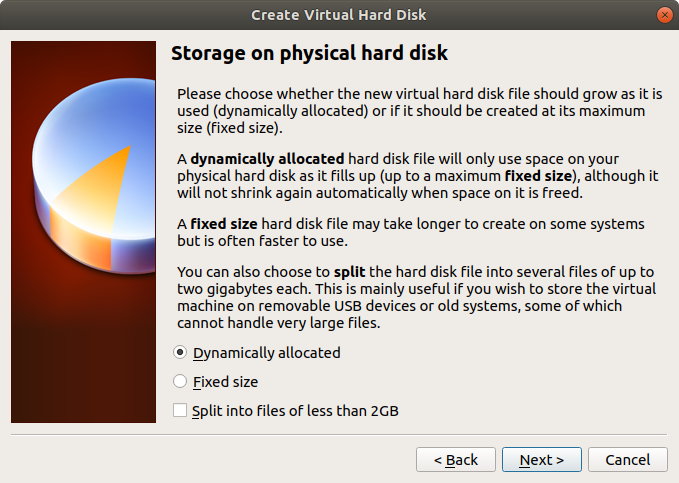
Create a new vm
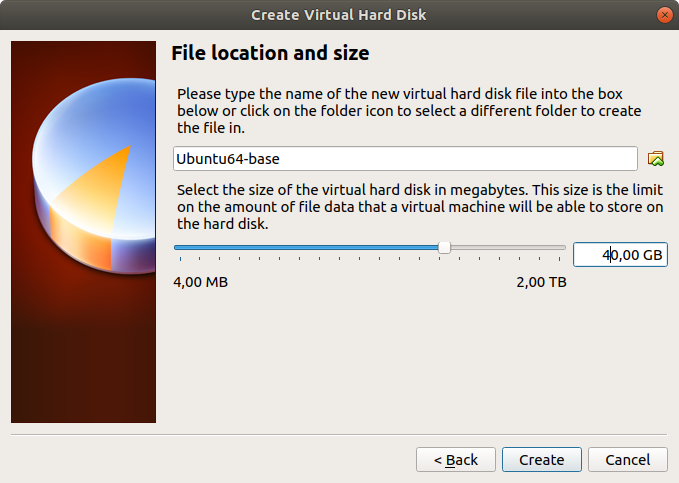
VM Settings
Disable audio and USB.
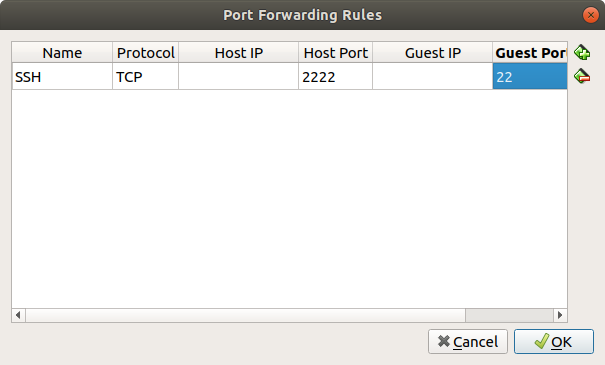
Set network to NAT and add port forwarding for SSH.
Select your iso image.

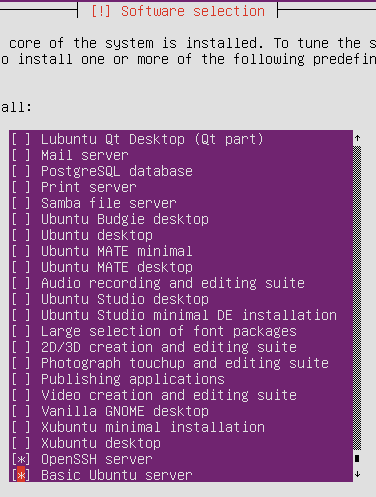
Start the vm and confirm the default settings during the installation.
user = vagrant
pw = vagrant
Use entire disk
Install automatic updates
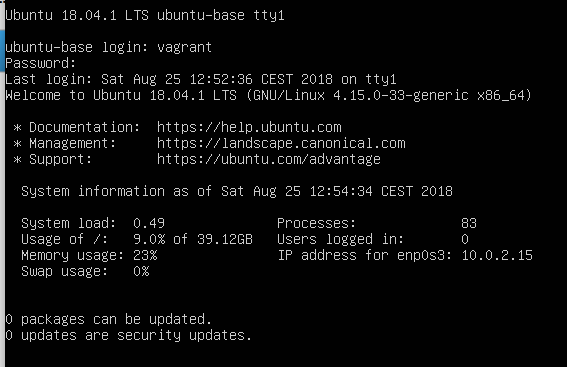
Don’t forget to remove the iso, after finishing the installation.
Now you should be able to log in with user vagrant
Although vagrant is a superuser you don’t want to type sudo < command > all the time.
To prevent that:
sudo su -
visudo -f /etc/sudoers.d/vagrant
and add
vagrant ALL=(ALL) NOPASSWD:ALLAdding insecure Keypair from https://raw.githubusercontent.com/hashicorp/vagrant/master/keys/vagrant.pub
mkdir /home/vagrant/.ssh
chmod 0700 /home/vagrant/.ssh
cd /home/vagrant/.ssh
wget https://raw.githubusercontent.com/hashicorp/vagrant/master/keys/vagrant.pub
mv vagrant.pub authorized_keys
chmod 0600 authorized_keys
cd ../
chown -R vagrant .ssh/
SSH CONFIG
open
vi /etc/ssh/sshd_config
and add to the end of the file
AuthorizedKeysFile %h/.ssh/authorized_keys
Restart the ssh service
service ssh restart
Install the following additional packages
apt-get install -y gcc build-essential git linux-headers-$(uname -r) dkms
Install Virtual Box Guest Additions
Insert Guest Additions CD image from Devices menu
mount /dev/cdrom /mnt
cd /mount
./VBoxLinuxAdditions.run
Zero out the disk to fix fragmentation issues and to compress the disk easier
dd if=/dev/zero of=/EMPTY bs=1M
rm -f /EMPTY
Create your box

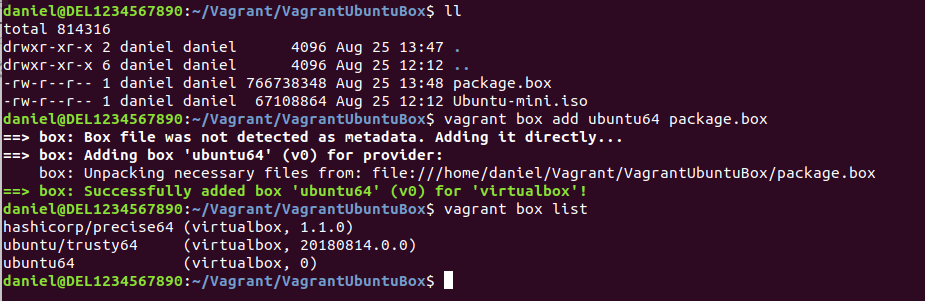
Run
vagrant init ubuntu64 -m
vagrant up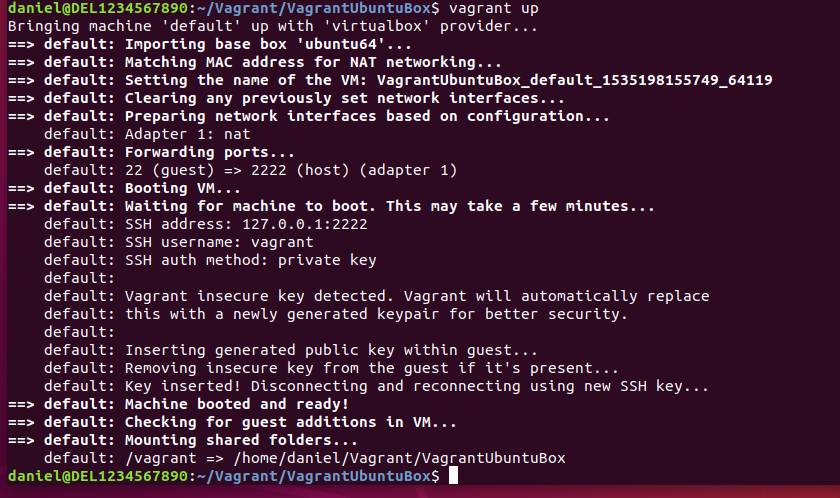
You now should be able to access your box via ssh
vagrant ssh